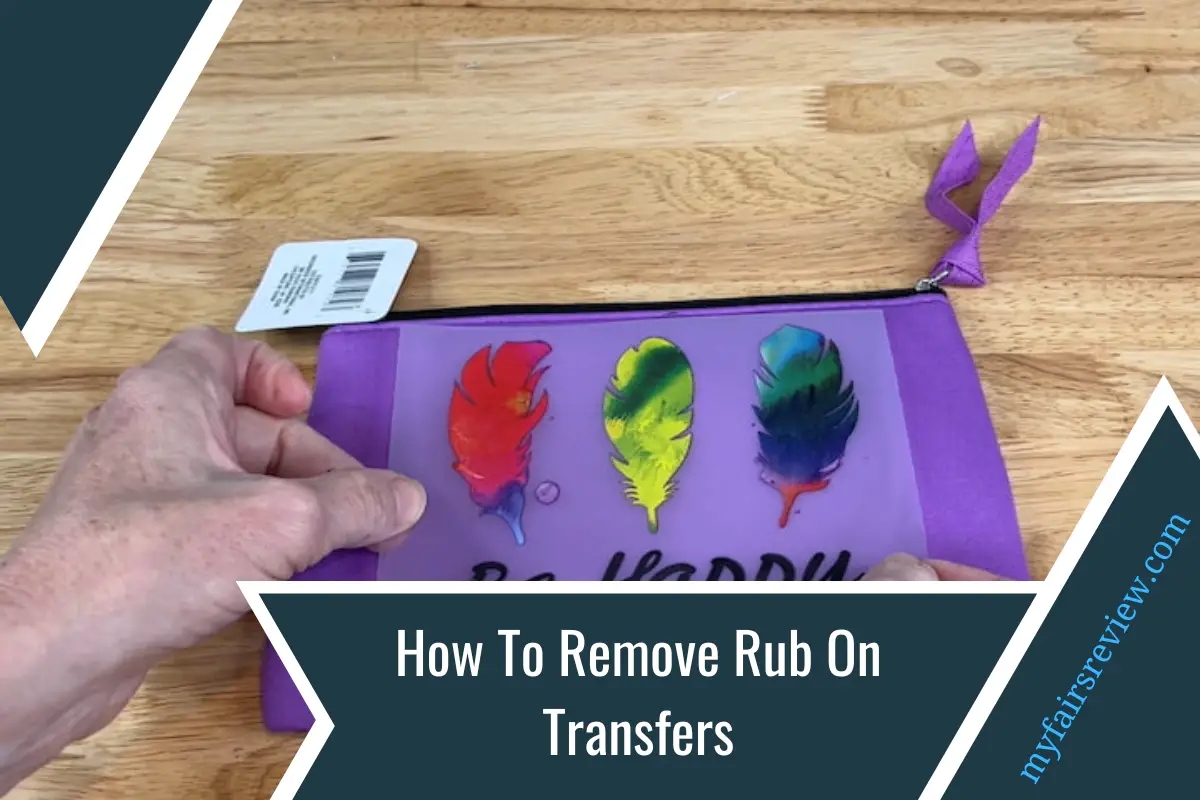
Are you tired of struggling to remove rub-on transfers from your craft projects? Whether you want to fix a misplaced design or start fresh with a clean canvas, I’ve got you covered. Many of us often ask the question: “how to remove rub on transfers?”
Removing rub-on transfers can be a challenging task, but with gentle techniques like using adhesive tape, rubbing alcohol, or an eraser, you can effectively remove them without causing damage. Explore these methods to start fresh and unleash your creativity on a clean crafting surface.
In this article, I walk you through a detailed guide on how to remove rub on transfers. Get ready to discover effective solutions and gain the confidence to tackle any rub-on removal task that comes your way. Let’s get started!
10 Different Efficient Ways To Remove Rub On Transfers:
When it comes to removing rub-on transfers from your craft projects, there are multiple methods you can try. Here are different ways to remove rub-on transfers:
Way 1: Adhesive Tape Method:
This method involves using adhesive tapes, such as masking tape or clear tape, to lift off the rub-on transfer. Follow the steps below to get the job done with adhesive tape.
Step 1: Cut a piece of adhesive tape slightly longer than the transfer.
Step 2: Press one end of the tape onto the edge of the transfer and ensure it adheres securely.
Step 3: Slowly peel off the tape, applying gentle and even pressure to lift the transfer off the surface.
Step 4: If any residue remains, use a gentle adhesive remover or rubbing alcohol to clean the area.
Way 2: Heat Method
The heat method is a popular and effective way to remove rub-on transfers from various surfaces. This method utilizes heat to loosen the adhesive of the rub-on transfer. By applying heat to the transfer, you can soften the adhesive, making it easier to lift off without causing damage.
Step 1: Use a hairdryer or a heat tool in a low to medium heat setting.
Step 2: Hold the heat source a few inches away from the transfer and apply heat evenly.
Step 3: As the heat softens the adhesive, use your fingertips or a clean cloth to gently peel off the transfer.
Step 4: If any residue remains, use a mild adhesive remover or rubbing alcohol to clean the area.
Way 3: Rubbing Alcohol Method
This method involves using rubbing alcohol to dissolve the adhesive of the rub-on transfer.
Step 1: Dampen a cotton pad or ball with rubbing alcohol.
Step 2: Gently rub the moistened cotton pad over the transfer, using small circular motions or back-and-forth strokes.
Step 3: Allow the rubbing alcohol to soak into the transfer for a few seconds.
Step 4: Use your fingertips or a clean cloth to peel off the transfer, applying even and gentle pressure.
Step 5: Clean the area with a mild soap solution to remove any residue.
Way 4: Eraser Method
The rubbing alcohol method is an effective way to remove rub-on transfers from various surfaces. Rubbing alcohol helps dissolve the adhesive, allowing you to lift off the transfer easily. This method involves using an eraser to gently remove the rub-on transfer.
Step 1: Select a clean eraser, preferably a white or non-colored one.
Step 2: Rub the eraser over the transfer using light pressure, moving in small circular motions or back-and-forth strokes.
Step 3: Continue erasing until the transfer fades or lifts off completely.
Step 4: Use a clean cloth or tissue to wipe away any eraser residue.
Way 5: Baby Wipe Method
The baby wipe method is a gentle and convenient way to remove rub-on transfers from various surfaces. Baby wipes contain a mild cleaning solution that can help loosen and lift off the transfer. Here’s a detailed discussion of the baby wipe method:
Step 1: Wet a baby wipe with water or a gentle cleaning solution.
Step 2: Gently rub the wet wipe over the transfer, applying light pressure.
Step 3: As you rub, the transfer should start to lift off.
Step 4: Use a clean cloth to wipe away any remaining residue.
Way 6: Vegetable Oil Method
The vegetable oil method is a simple and effective way to remove rub-on transfers from various surfaces. Vegetable oil helps to dissolve the adhesive, making it easier to lift off the transfer. Here’s a brief discussion of the vegetable oil method.
Step 1: Apply a small amount of vegetable oil to a cotton pad.
Step 2: Gently rub the oil-soaked pad over the rub-on transfer.
Step 3: Allow the oil to penetrate the adhesive for a few minutes.
Step 4: Use a clean cloth to wipe away the softened transfer.
Step 5: Clean the area with mild soap and water to remove any oil residue.
Way 7: Use Nail Polish Remover
The nail polish remover method is a common technique used to remove rub-on transfers from various surfaces. Nail polish remover contains acetone or non-acetone solvents that effectively dissolve the adhesive. Here’s a brief discussion of the nail polish remover method:
Step 1: Moisten a cotton pad with a non-acetone nail polish remover.
Step 2: Gently rub the moistened pad over the transfer, applying light pressure.
Step 3: The nail polish remover will dissolve the adhesive, making it easier to remove the transfer.
Step 4: Wipe away any remaining residue with a clean cloth.
Way 8: White Vinegar Method
The white vinegar method is a natural and gentle approach to removing rub-on transfers from surfaces. White vinegar’s acidic properties help break down the adhesive, making it easier to lift off the transfer. Here’s a brief discussion of the white vinegar method:
Step 1: Dab a cotton pad with white vinegar.
Step 2: Gently rub the vinegar-soaked pad over the transfer.
Step 3: Allow the vinegar to work on the adhesive for a few minutes.
Step 4: Use a clean cloth to wipe away the softened transfer.
Step 5: Rinse the area with water to remove any vinegar residue.
Way 9: Window Cleaner Method
The window cleaner method is a straightforward way to remove rub-on transfers from various surfaces. Window cleaner contains cleaning agents that can effectively loosen and lift off the transfer.
Step 1: Spray a small amount of window cleaner onto a cloth.
Step 2: Gently rub the cloth over the rub-on transfer, applying light pressure.
Step 3: The window cleaner will help loosen the adhesive.
Step 4: Use a clean cloth to wipe away the transfer and any residue.
Way 10: Toothpaste Method
The toothpaste method is a handy and accessible approach to removing rub-on transfers from surfaces. The mild abrasiveness of toothpaste helps lift off the transfer without causing damage.
Step 1: Apply a small amount of non-gel toothpaste to a cloth or toothbrush.
Step 2: Gently scrub the toothpaste over the rub-on transfer, using small circular motions.
Step 3: The mild abrasiveness of the toothpaste will help remove the transfer.
Step 4: Rinse the area with water to remove any toothpaste residue.
Mistakes Should Be Ignored When Removing Rub-On Transfers:
Mistakes are part of the creative journey. Embrace them, learn from them, and use them as stepping stones towards achieving the desired outcome. With practice, patience, and a positive mindset, you’ll become more adept at removing rub-on transfers effectively.
- Surface Damage Prevention:
Mistakes such as using harsh or abrasive materials, applying excessive force, or using improper techniques can lead to surface damage. Scratches, discoloration, or other forms of damage may occur, especially on delicate or sensitive surfaces.
It’s important to take your time, follow recommended methods, and handle the removal process with care to avoid such mistakes.
- Preservation Of The Transfer:
Rub-on transfers are designed to adhere to surfaces temporarily, and rough handling or improper removal techniques can cause them to tear or become unusable.
By avoiding mistakes, you can ensure the transfer remains intact, allowing for potential reapplication or future use. Taking a gentle and precise approach will help preserve the transfer’s quality.
- Cost And Time Efficiency:
Making mistakes during the removal process can result in wasted time, effort, and resources. If a mistake occurs, you may need to purchase additional rub-on transfers or materials to rectify the situation. By avoiding mistakes, you can complete the removal process smoothly and efficiently, saving both time and money.
Related Questions:
Can You Use These Methods On All Surfaces?
While most of these methods are safe for a wide range of surfaces, it’s important to exercise caution and test them on a small, inconspicuous area first. Delicate or sensitive surfaces, such as painted walls or antique furniture, may require gentler approaches or professional assistance to avoid damage. Always read and follow the manufacturer’s instructions for any specific surfaces or materials.
What If The Rub-on Transfer Is Stubborn And Doesn’t Come Off Easily?
If the transfer proves difficult to remove, you can try repeating the chosen method or combining different techniques. For instance, you might use a heat method to soften the adhesive first, followed by a rubbing alcohol or vegetable oil application to dissolve it further.
Patience and gentle persistence are key. However, if the transfer remains stubborn, it may be best to seek advice from a professional or consider replacing the affected surface if possible.
What Should You Do If The Rub-On Transfer Doesn’t Adhere Properly Or Appears Uneven After Application?
If the rub-on transfer doesn’t adhere properly or looks uneven, it’s usually an indication of incomplete or improper application. In such cases, it’s best to remove the transfer completely and start over. Ensure that the surface is clean, smooth, and free of any dust or debris before applying the transfer.
Follow the manufacturer’s instructions carefully, applying even pressure with a burnishing tool or the edge of a credit card to ensure proper adhesion. Taking your time and being patient during the application process can help achieve a smooth and successful outcome.
Conclusion
This is how you can remove rub on transfers. Removing rub-on transfers requires caution to avoid mistakes that may damage the surface or transfer. You can achieve satisfactory results if you follow proper techniques, take your time, and learn from any mistakes you make.
Don’t be afraid to embrace the learning curve and make surface protection, transfer preservation, and efficiency your top priorities. With patience and practice, you’ll become more proficient in handling rub-on transfers, enjoying the creative process while achieving your desired outcome.