For DIY concrete pouring, suitable tools include a trowel, wheelbarrow, bucket, level, float, and edger. These tools are essential for mixing and pouring concrete, ensuring a smooth and level surface and achieving professional results.
When adequately equipped with these tools, anyone can successfully undertake a concrete pouring project without the need for professional assistance. Moreover, having the right tools on hand saves time, effort, and money, making the DIY process much more efficient. With the right tools, a DIY enthusiast can confidently tackle concrete pouring projects, such as sidewalks, patios, and even small foundations, with ease.
Essential Tools For Diy Concrete Pouring
Discover the essential tools needed for successfully pouring concrete as a DIY project. Find out which tools are suitable and necessary for achieving professional results in your concrete pouring endeavors.
A successful DIY concrete pouring project requires the right tools to ensure accuracy and efficiency. Here are the essential tools you’ll need:
- Formwork:
- Sturdy and robust forms are vital for maintaining the shape and structure of your concrete. They hold the wet concrete in place until it sets.
- Options include:
- Wood: Easily customizable and suitable for simple projects.
- Metal: Offers durability and strength for more complex shapes.
- Plastic: Lightweight and reusable, perfect for small-scale projects.
- Wheelbarrow:
- A wheelbarrow is indispensable for transporting and mixing the concrete. It’s important to choose one that is large enough to accommodate your needs.
- Look for:
- High-quality construction for durability.
- A sturdy wheel and handles for easy maneuverability.
- Sufficient capacity to hold the required amount of concrete.
- Concrete Mixer:
- Mixing the concrete thoroughly is crucial to ensure uniform consistency and strength. A concrete mixer simplifies this task significantly.
- Considerations:
- Electric or petrol-powered mixers for convenience.
- Drum capacity suitable for your project size.
- Easy-to-use controls and a stable frame for stability.
- Concrete Vibrator:
- A concrete vibrator eliminates air pockets and bubbles in the poured concrete, ensuring a dense and sturdy finished product.
- Features to look for:
- High-frequency vibrations for effective compaction.
- Ergonomic design for comfortable handling.
- Various head sizes to accommodate different project requirements.
- Trowel:
- A trowel is essential for finishing the concrete surface once it is poured. It smooths and levels the concrete, providing a professional and polished appearance.
- Considerations:
- Stainless steel blades for durability and ease of cleaning.
- Comfortable handle grip for reduced strain during use.
- Different sizes to suit a variety of project needs.
With these essential tools at your disposal, you’ll be well-equipped to tackle your DIY concrete pouring project with confidence and achieve excellent results. Remember to prioritize safety and follow the necessary precautions throughout the process. Happy pouring!
Safety Equipment For Diy Concrete Pouring
Suitable safety equipment for DIY concrete pouring includes safety goggles, gloves, and a respirator mask to protect against dust and fumes. Additionally, a sturdy pair of boots and knee pads provide comfort and prevent injuries during the process.
When it comes to tackling a DIY concrete pouring project, it is crucial to prioritize safety. Protecting yourself from potential hazards is key in ensuring a successful and accident-free experience. To ensure your safety, there are a few essential safety equipment items that you should consider:
Protective Clothing
Wearing the right protective clothing is essential to shield yourself from any potential harm during concrete pouring. Here are the key items of protective clothing you should have:
- Coveralls or long-sleeved shirt and pants: These will protect your skin from direct contact with wet concrete and minimize the risk of skin irritation.
- Steel-toed boots or sturdy closed-toe shoes: Ensure that your footwear provides ample protection against accidental foot injuries from heavy objects or falling debris.
Safety Glasses
Shielding your eyes from flying debris, splashes, or potential chemical interactions is critical. Safety glasses should be worn at all times during concrete pouring to protect your eyes from the following hazards:
- Dust and debris: Concrete mixing can create dust particles that may irritate your eyes.
- Chemicals: Concrete additives or cleaning solutions can be harmful if they come into contact with your eyes.
Gloves
To shield your hands from chemicals and protect yourself from abrasions or injuries, wearing the right gloves is essential. You should consider the following types of gloves:
- Rubber or vinyl gloves: These gloves will provide protection against direct contact with wet concrete, chemical additives, and cleaning agents.
- Work gloves: For added grip and protection against hand injuries, it is recommended to wear work gloves with reinforced palms and fingers.
Dust Mask
Concrete work can create hazardous dust particles that may negatively impact your respiratory system. To protect your lungs from the following potential health risks, it is important to wear a dust mask:
- Silica dust: Fine particles released during concrete mixing contain silica, which can lead to respiratory issues if inhaled in large quantities.
- Concrete dust: General dust created during the concrete pouring process can irritate your respiratory system.
By using the appropriate safety equipment during your DIY concrete pouring project, you can minimize the chances of accidents or health hazards. Remember to wear protective clothing, safety glasses, gloves, and a dust mask to ensure your safety and create a pleasant and safe working environment.
Additional Tools For Diy Concrete Pouring
Discover the perfect tools for DIY concrete pouring, including trowels, floats, screeds, and edgers. These essential tools will help you achieve a professional finish without the need for expensive contractors.
When working on a DIY concrete pouring project, it’s important to have the right tools to ensure a smooth and successful process. In addition to the basic tools like a concrete mixer, wheelbarrow, and trowel, there are a few additional tools that can make your job easier and help you achieve professional-looking results.
Let’s take a closer look at these tools and how they can assist you in your DIY concrete pouring journey.
Concrete Screed
A concrete screed is a long, straight tool used to level and smooth the surface of wet concrete. It helps you achieve a consistent thickness and evenness throughout the entire concrete slab. There are various types of screeds available, including wooden screeds, aluminum screeds, and magnesium screeds.
The choice of material depends on personal preference and the size of the project. Using a screed ensures that your concrete surface is flat and free of any lumps or irregularities.
Bull Float
A bull float is a large, flat tool that is used to flatten and level the surface of freshly poured concrete. It is typically made of wood, aluminum, or magnesium and is attached to a long handle for easy maneuverability.
The bull float is used after screeding to further smooth out the surface and remove any excess water or air bubbles. It helps create a smooth finish and prepares the concrete for further finishing touches.
Edger
An edger is a tool used to create rounded edges along the perimeter of the concrete slab. It helps prevent the edges from chipping and gives the final product a polished look. Edgers come in different sizes and styles, including hand-held edgers and walk-behind edgers.
They are typically made of steel or stainless steel and have a rounded or curved edge. By using an edger, you can achieve clean and professional-looking edges on your concrete project.
Groover
A groover is a tool that creates contraction joints or control joints in the concrete surface. These joints help control and minimize cracking as the concrete cures and expands or contracts due to temperature changes or moisture. Groovers are available in different widths and depths, allowing you to create various joint patterns based on your specific needs.
By adding grooves to your concrete surface, you can ensure its long-term durability and reduce the likelihood of future cracks.
Concrete Finishing Broom
A concrete finishing broom is a specialized tool used to create a non-slip texture on the surface of the concrete. It is typically used for outdoor concrete projects, such as driveways, sidewalks, or patios, where traction is essential. The broom bristles create small grooves and ridges on the concrete surface, improving its slip resistance when wet.
This tool is usually used after the concrete has partially hardened but is still workable. It adds a decorative and functional touch to your concrete project.
By utilizing these additional tools for your DIY concrete pouring project, you can ensure a smoother process and achieve professional-quality results. Whether it’s leveling the surface with a screed, smoothing out the concrete with a bull float, creating clean edges with an edger, adding contraction joints with a groover, or enhancing traction with a finishing broom, each tool plays a significant role in achieving a successful outcome.
So make sure to equip yourself with the right tools and take your DIY concrete pouring skills to the next level.
Factors To Consider When Choosing Tools For Diy Concrete Pouring
Factors to consider when selecting tools for DIY concrete pouring include the type of project, the size of the concrete area, the budget, and the availability of tools. It’s important to choose suitable tools that will ensure a successful concrete pouring job while also considering safety precautions and personal skill level.
Whether you’re a seasoned DIY enthusiast or embarking on your first concrete pouring project, selecting the right tools is crucial for achieving successful results. Several factors come into play when choosing the tools that best suit your needs. Consider the following factors to ensure a smooth and efficient DIY concrete pouring experience:
Project Size And Scope:
- Determine the size and complexity of your concrete pouring project before selecting tools.
- For small-scale projects, basic hand tools such as trowels, floats, and edgers might suffice.
- Larger projects may require power tools such as concrete mixers or vibrating screeds for improved efficiency.
- Consider the handling and maneuverability of the tools based on the size and accessibility of the project area.
Budget:
- Assess your budgetary constraints and allocate funds accordingly for purchasing or renting tools.
- Research different brands and options to find cost-effective tools that meet your quality requirements.
- Consider the long-term value of purchasing tools that can be used for multiple projects versus renting expensive equipment for one-time use.
- Explore the option of borrowing or sharing tools with friends or neighbors to minimize costs.
Skill Level:
- Evaluate your own expertise and experience with concrete pouring before selecting tools.
- Beginners may opt for simpler tools that are easy to handle and require minimal technical know-how.
- Advanced DIYers or professionals may prefer specialized tools for more intricate tasks, such as concrete stamps or texture rollers.
- Don’t hesitate to seek advice or guidance from experts or online tutorials to enhance your skill set and ensure successful concrete pouring.
Availability:
- Consider the availability of tools in your local area before finalizing your options.
- Research hardware stores, rental centers, or online platforms to check the availability of the required tools.
- Plan ahead and make reservations if necessary to secure the tools needed for your project.
- If a specific tool is not readily available, explore alternative methods or tools that can achieve similar results.
By considering these factors – project size and scope, budget, skill level, and availability – you can make informed decisions when choosing the tools for your DIY concrete pouring project. Take your time to research, compare options, and select tools that will help you achieve the desired results efficiently and effectively.
Happy pouring!
Tips For Using Tools Effectively For Diy Concrete Pouring
Discover the essential tools for successful DIY concrete pouring. From trowels and floats to concrete mixers and rebar cutters, these tools are suitable for any concrete project. Get started on your next DIY venture with confidence.
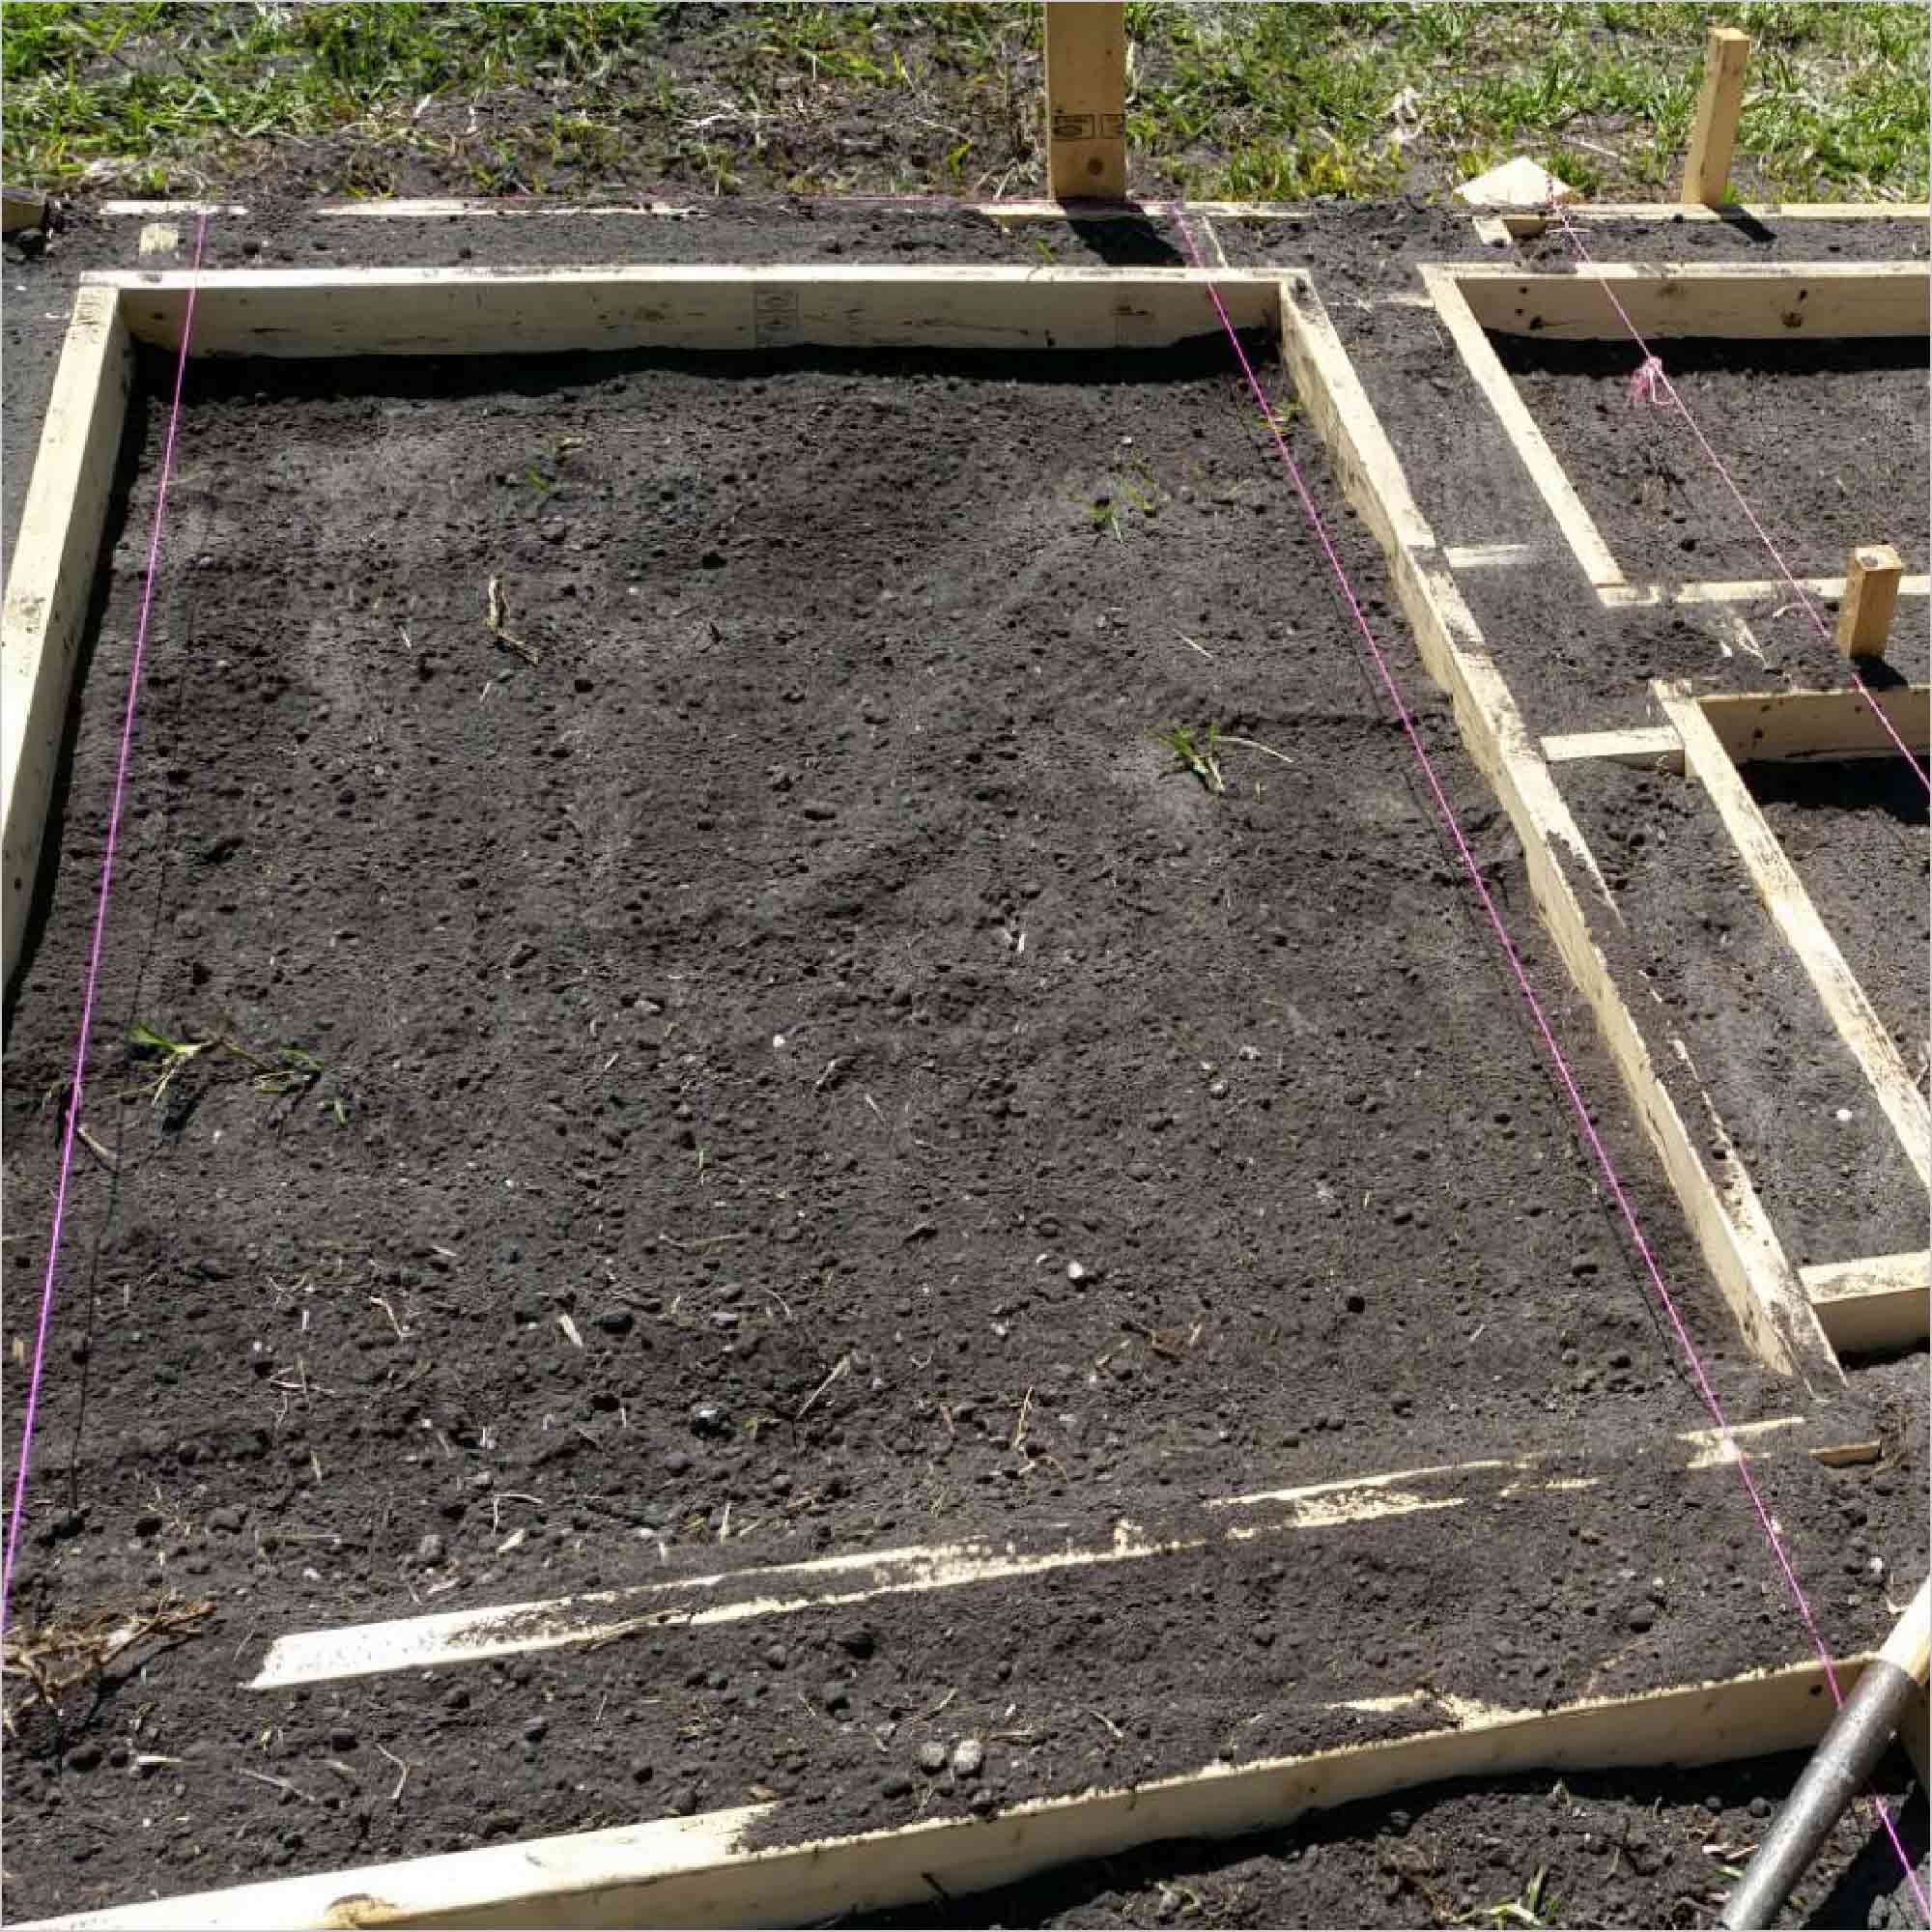
Properly Setting Up Formwork:
- Formwork preparation is crucial for a successful concrete pour. Here are some tips to help you set it up properly:
- Start by measuring and marking where you want your formwork to be.
- Ensure that the ground is level and stable before placing the boards or panels.
- Use sturdy materials such as plywood or metal to construct the formwork.
- Secure the formwork tightly to prevent any leakage of concrete.
- Make sure the formwork is properly aligned to prevent any unevenness in the finished concrete.
Mixing Concrete Correctly:
- Mixing concrete is a vital step in DIY concrete pouring. Here are some tips for achieving the right mix:
- Use the correct ratio of cement, sand, and aggregate as specified in your project.
- Measure the ingredients accurately to ensure consistency.
- Start by mixing the dry ingredients together before adding water.
- Gradually add water while mixing until you achieve a workable consistency.
- Continuously mix the concrete for a few minutes to ensure uniformity.
Using Concrete Vibrator:
- A concrete vibrator helps to remove air bubbles and ensure the concrete is properly compacted. Here’s how to use it effectively:
- Insert the vibrator into the concrete at regular intervals, avoiding contact with the formwork.
- Submerge the vibrator fully and slowly pull it out while vibrating to evenly distribute the concrete.
- Move the vibrator around to ensure thorough compaction, especially in areas with congested reinforcement.
- Avoid over-vibrating, as it can cause segregation and weaken the concrete.
- Pay attention to any air bubbles rising to the surface and use a rod to remove them.
Applying Finishing Techniques:
- Proper finishing techniques can enhance the appearance and durability of your concrete. Consider these tips:
- Use a float or trowel to level the concrete surface once it has slightly hardened.
- Create desired textures or finishes with tools such as a broom, sponge, or stamp.
- Apply any necessary treatments or sealants to protect the concrete from weathering and staining.
- Regularly clean and maintain your concrete to extend its lifespan.
- Leave the concrete undisturbed for a minimum of 24 hours before allowing foot traffic.
Remember, successfully pouring concrete as a DIY project requires careful planning, proper tool utilization, and mindful execution. By following these tips, you can achieve great results and complete your concrete pouring project with confidence.
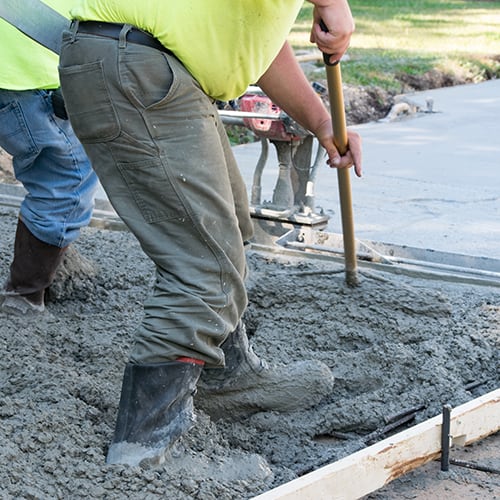
Credit: www.powerblanket.com
Common Mistakes To Avoid When Using Tools For Diy Concrete Pouring
Find out the suitable tools for DIY concrete pouring and avoid common mistakes. This article provides valuable insights on which tools to use and how to avoid potential pitfalls in your DIY concrete projects.
Improper Mixing Ratio:
- Using the wrong mixing ratio can result in weak or unstable concrete. Ensure that you follow the instructions provided with your concrete mix to achieve the correct consistency.
- Measure the water and mix it in gradually to achieve the desired ratio. Adding too much water can weaken the concrete, while adding too little can make it difficult to work with.
Inadequate Formwork Support:
- Insufficient support for your formwork can lead to misshapen or uneven concrete. Make sure to properly brace and secure your forms before pouring the concrete.
- Use strong and sturdy materials for your formwork to ensure it can withstand the weight and pressure of the concrete.
Inadequate Concrete Vibration:
- Failure to properly vibrate the concrete can result in air pockets and weak spots in your project. Use a concrete vibrator to remove trapped air and achieve proper consolidation.
- Ensure that you vibrate the concrete at the right intervals and in a systematic manner to ensure uniform distribution of the mix.
Failure to Properly Finish the Surface:
- Neglecting to finish the concrete surface can lead to rough or uneven textures, making it less visually appealing and potentially reducing its durability. Use appropriate finishing techniques to achieve a smooth and even surface.
- Consider using tools like a bull float, edger, or trowel to achieve the desired finish. Take your time and follow the recommended techniques to avoid errors.
Remember, avoiding these common mistakes will help you achieve better results when working with concrete. By mixing the materials correctly, providing adequate support for the formwork, properly vibrating the concrete, and finishing the surface appropriately, you can ensure a successful and professional-looking DIY concrete project.
Frequently Asked Questions Of Which Tools Are Suitable For Diy Concrete Pouring?
What Tools Do You Need To Pour A Small Concrete Slab?
The tools needed for pouring a small concrete slab include a wheelbarrow, shovel, tape measure, level, and trowel.
What Tools Do I Need To Do A Concrete Patio?
To build a concrete patio, you’ll need these tools: measuring tape, level, string line, shovel, concrete mixer, trowel, float, and broom.
What Is The Best Tool For Spreading Concrete?
The best tool for spreading concrete is a concrete spreader, which ensures even distribution.
What Tools Do I Need To Pour A Concrete Driveway?
To pour a concrete driveway, you’ll need the following tools: wheelbarrow, shovel, concrete mixer, float, edger, trowel, and level.
Conclusion
To sum it up, choosing the right tools for DIY concrete pouring is essential for a successful and efficient project. By investing in the proper equipment, such as a quality wheelbarrow, concrete mixer, trowels, and vibrators, you can save time and effort while achieving professional results.
Additionally, using safety gear like gloves, goggles, and knee pads is crucial to protect yourself during the process. It’s also important to consider renting or borrowing specialized tools like concrete forms or a power screed if needed. Remember to properly prepare the site, mix the concrete correctly, and follow the instructions for each tool to ensure optimal outcomes.
Whether you are a DIY enthusiast or a homeowner looking to save costs, selecting the appropriate tools will make your concrete pouring project a smooth and successful endeavor.